Languages
Manage your languages
This section of the documentation provides information on how to manage your languages.
Managing your languages
When you first login to the Tonos admin page, you will be redirected to the Dashboards page. From here you have to go the Languages page, which is located in the Account Management section.
When you enter the Languages page, the entirety of your languages will be shown.
You can choose to enable a certain language, make a language the default language for your application which will be used as default translation on sections like "checkout flow" and "my account" too, edit keys for a certain language, and add a new language to your application.
In order to add a new language, click the blue Create Language button in the top-left part of the page. After clicking, a form for adding the new language will pop up.
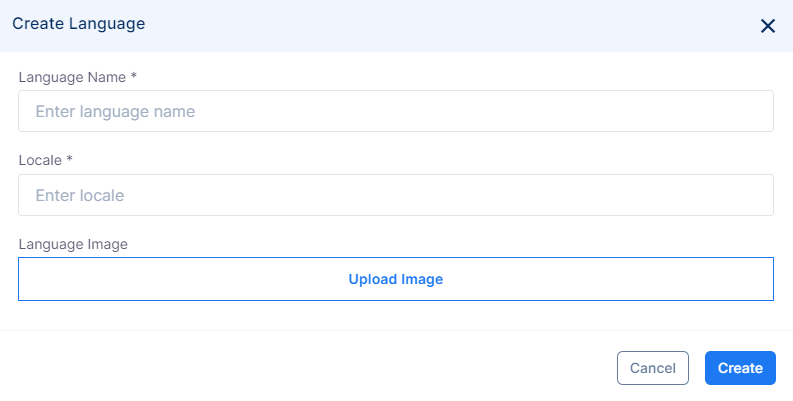
Add the language name, the locale, and upload an image for the language.
After filling the necessary fields, click the Create button, and with that, the new language will be added successfully.
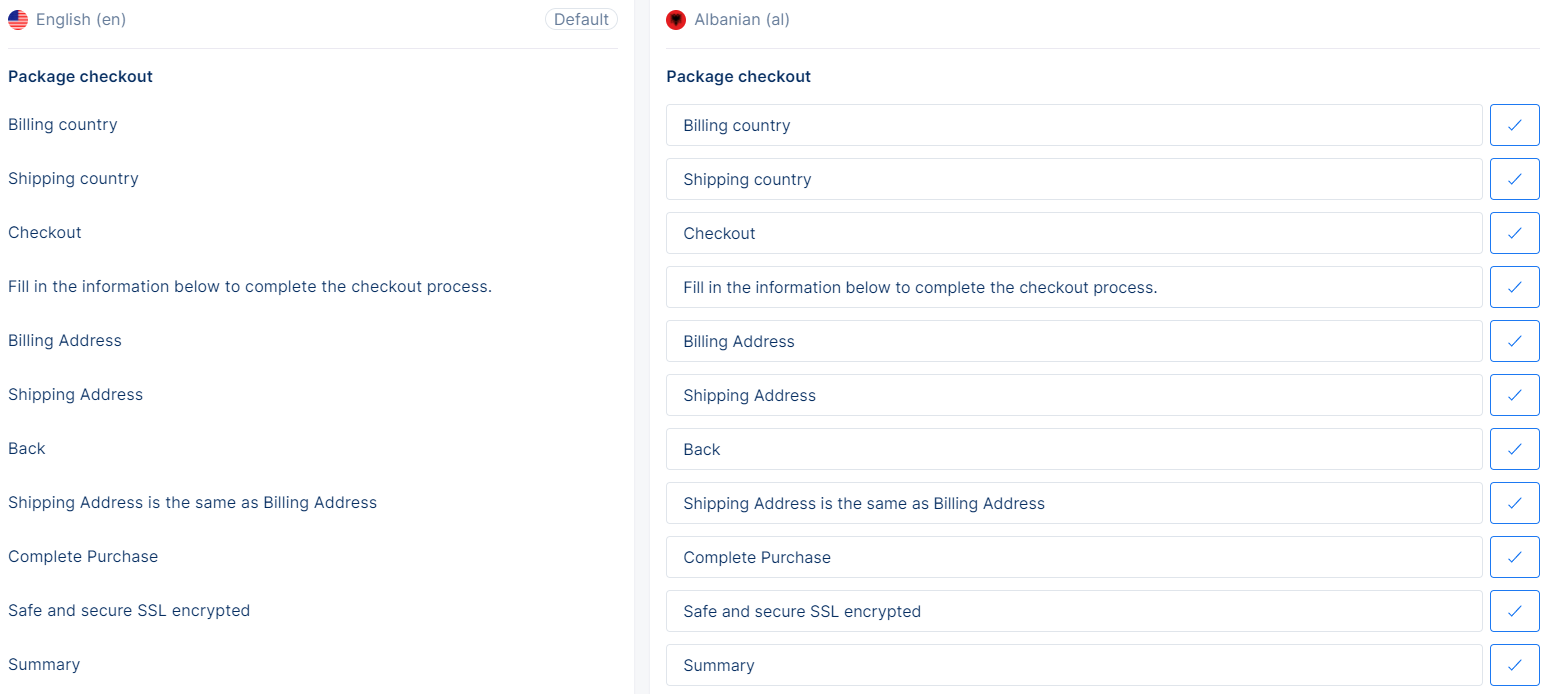
Tonos has already translated some languages for you. If you would like to change this, click the ellipses on a language you want to edit, and click "Edit Keys".
You can change the language of the admin by clicking the language tab on the top-right section of the page.
Tonos allows you to edit default languages if you believe some words should be translated differently.