Webhooks
Overview
This section of the documentation provides information on how to add webhook endpoints.
Managing your webhook endpoints
When you first login to the Tonos admin page, you will be redirected to the Dashboards page. From here you have to go the Webhooks page, which is located in the Developers section.
When you enter the Webhooks page, the entirety of your webhook endpoints will be shown.
You can choose to disable an endpoint, edit it, expire the endpoint's secret, delete the webhook endpoint, or view its details.
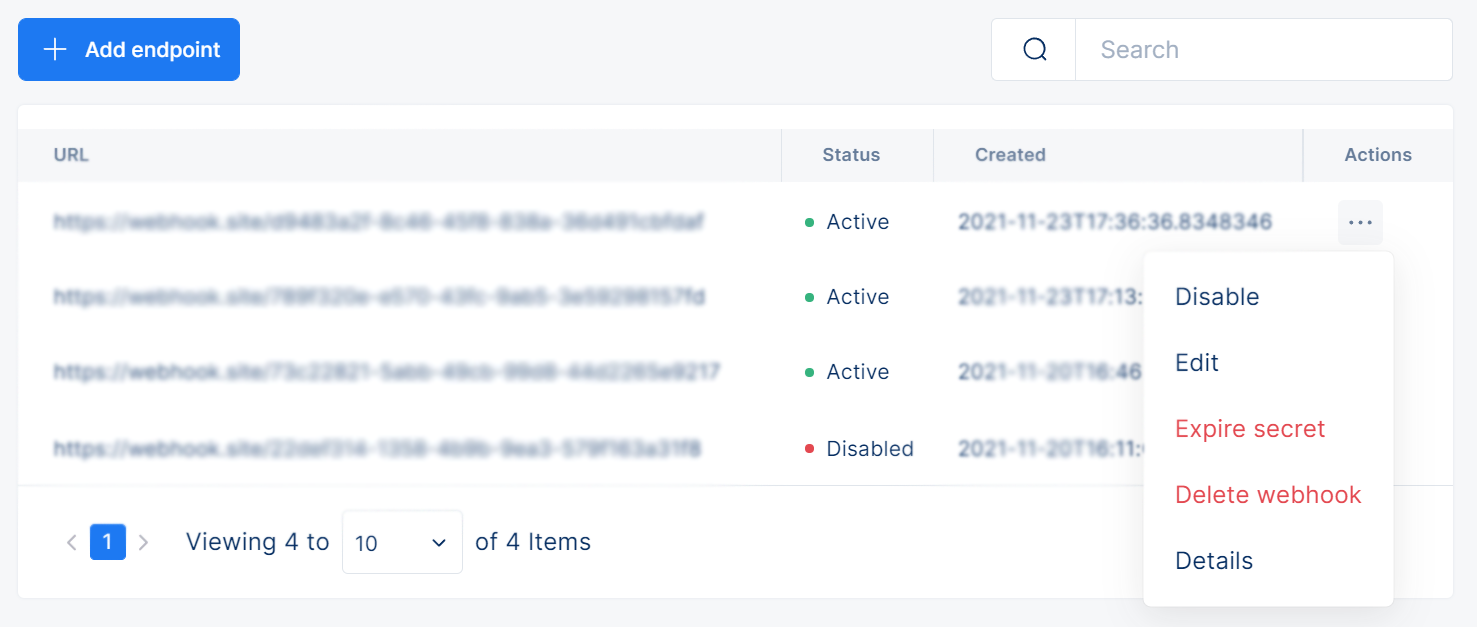
In order to add a new endpoint, click the blue Add endpoint button in the top-left part of the page. After clicking, a form for adding the new endpoints will pop up.
After filling the necessary fields, click the Add endpoint button, and with that, the new endpoint will be added successfully.
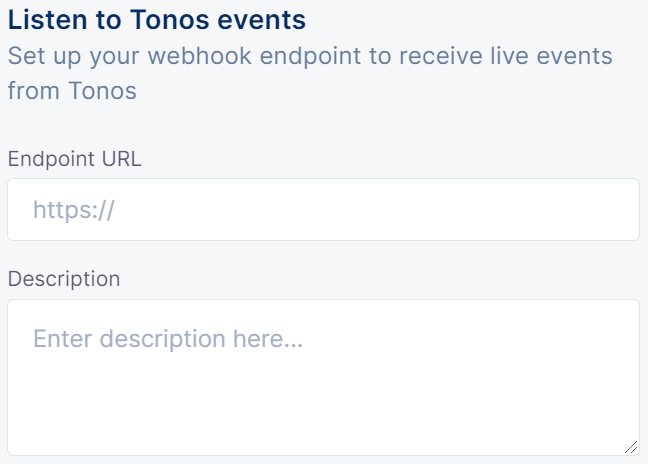
Filling out the webhook endpoint form
| Field | Description |
|---|---|
| Endpoint URL | This field requires you to write the URL of your webhook endpoint. |
| Description | This field allows you to write a description about your webhook endpoint. |
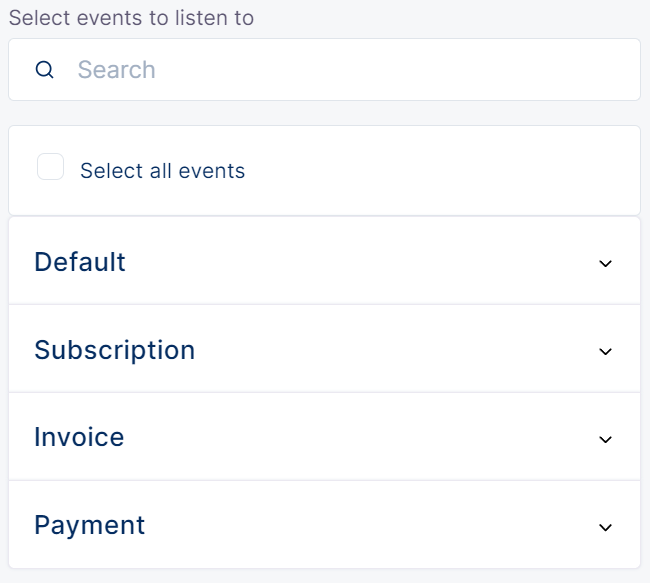
| Select events to listen to | This field allows you to manually select the events you endpoint will listen to. |
| Select all events (Checkbox) | This checkbox allows you to have your endpoint listen to all available events. |
| Default | This section contains default events which you can select. |
| Subscription | This section contains subscription events which you can select. |
| Invoice | This section contains invoice events which you can select. |
| Payment | This section contains payment events which you can select. |